How do I remove a duplicate child record?
1. Go to the "Child Selection" screen by clicking of the "Children" link in the menu bar
2. Select the child's name and click "History" to capture the sign in sheets the child is currently on
3. Update the "From" date to when the child started and click "Search"
4. Scroll to the bottom of the screen and click "Print" to print a hard copy of this report, and then click on the back arrow of your internet browser
5. Click "Previous" to go back to the "Child Selection" screen
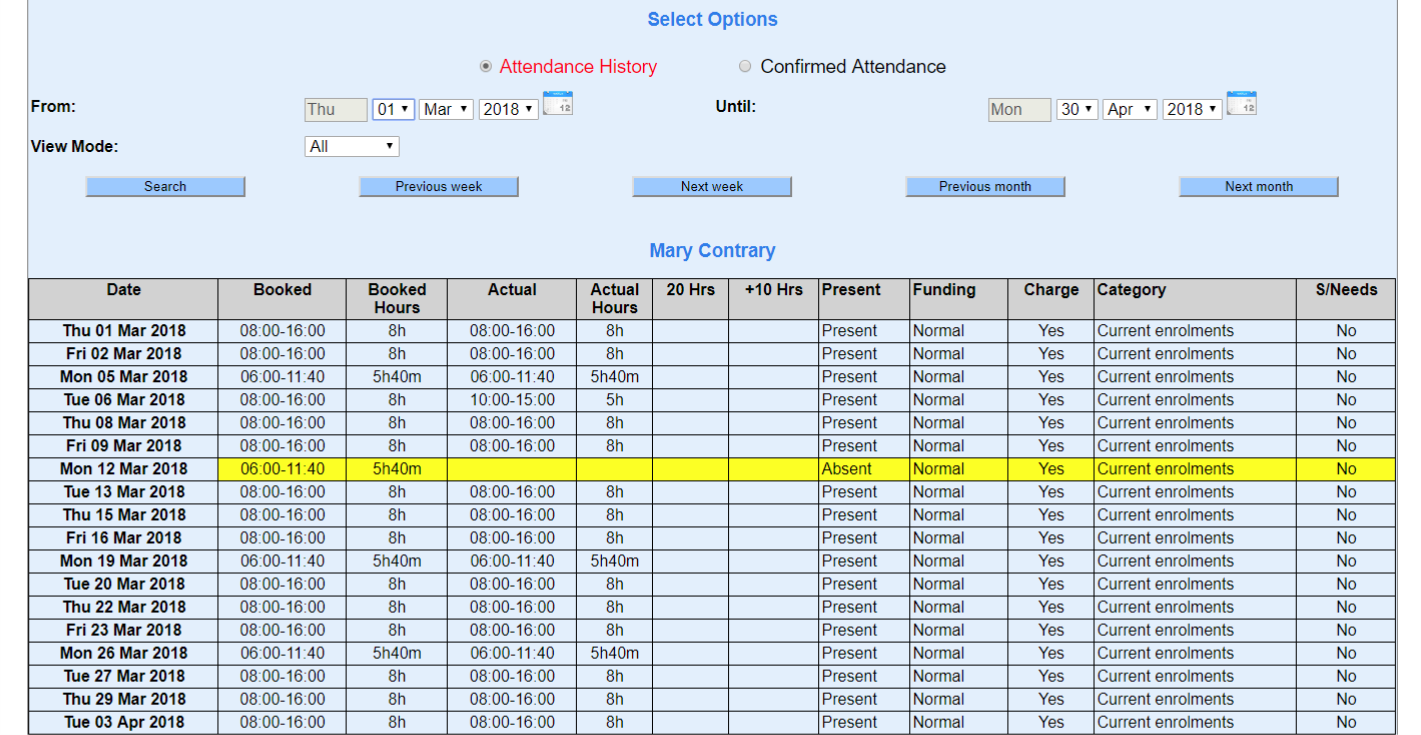
6. Click "Account" and "View Transactions" to get a report of the transactions committed for the child
7. Update the "From" date to when the child started and click "Search"
![]()
8. Scroll to the bottom of the screen and click "Print" to print a hard copy of this report, and then click on the back arrow of your internet browser
9. Click "Previous"
Removing the child's "History" and "Transactions"
10. "Exclude" the child from all of the "Sign in Sheets" showing the the "History" report printed previously following the module "How do I remove a child from a sign in sheet"
11. "Reverse" all of the transactions for the child referring to the "Transaction" report printed previously following the module "How do I correct a transaction I have previously commited"
Once the child has been removed from all of the child daily sign in sheets and all of the transactions have been reversed, you can now delete that child record and reinstate the original record for that child
12. Go to the "Child Selection" screen by clicking of the "Children" link in the menu bar
13. Ensure the correct child is selected and click "Delete"
14. Click "Ok" to confirm
Now to reinstate the original record
15. While in the "Child Selection" screen, change the category to "Children who've left" and click "Search"
16. Return the child to current enrolments by following the module "How do I re-enroll a child who has left my centre previous and is starting again"
17. Add the child to the child daily sign in sheets as per the "History" report referring to the module "How do I add a child to the sign in sheet who has started after the sign in sheets were created and printed for that day"
18. Recreate the transactions as per the "Transaction" report using the modules "How do I create invoices" and "How do I enter payments from parents"